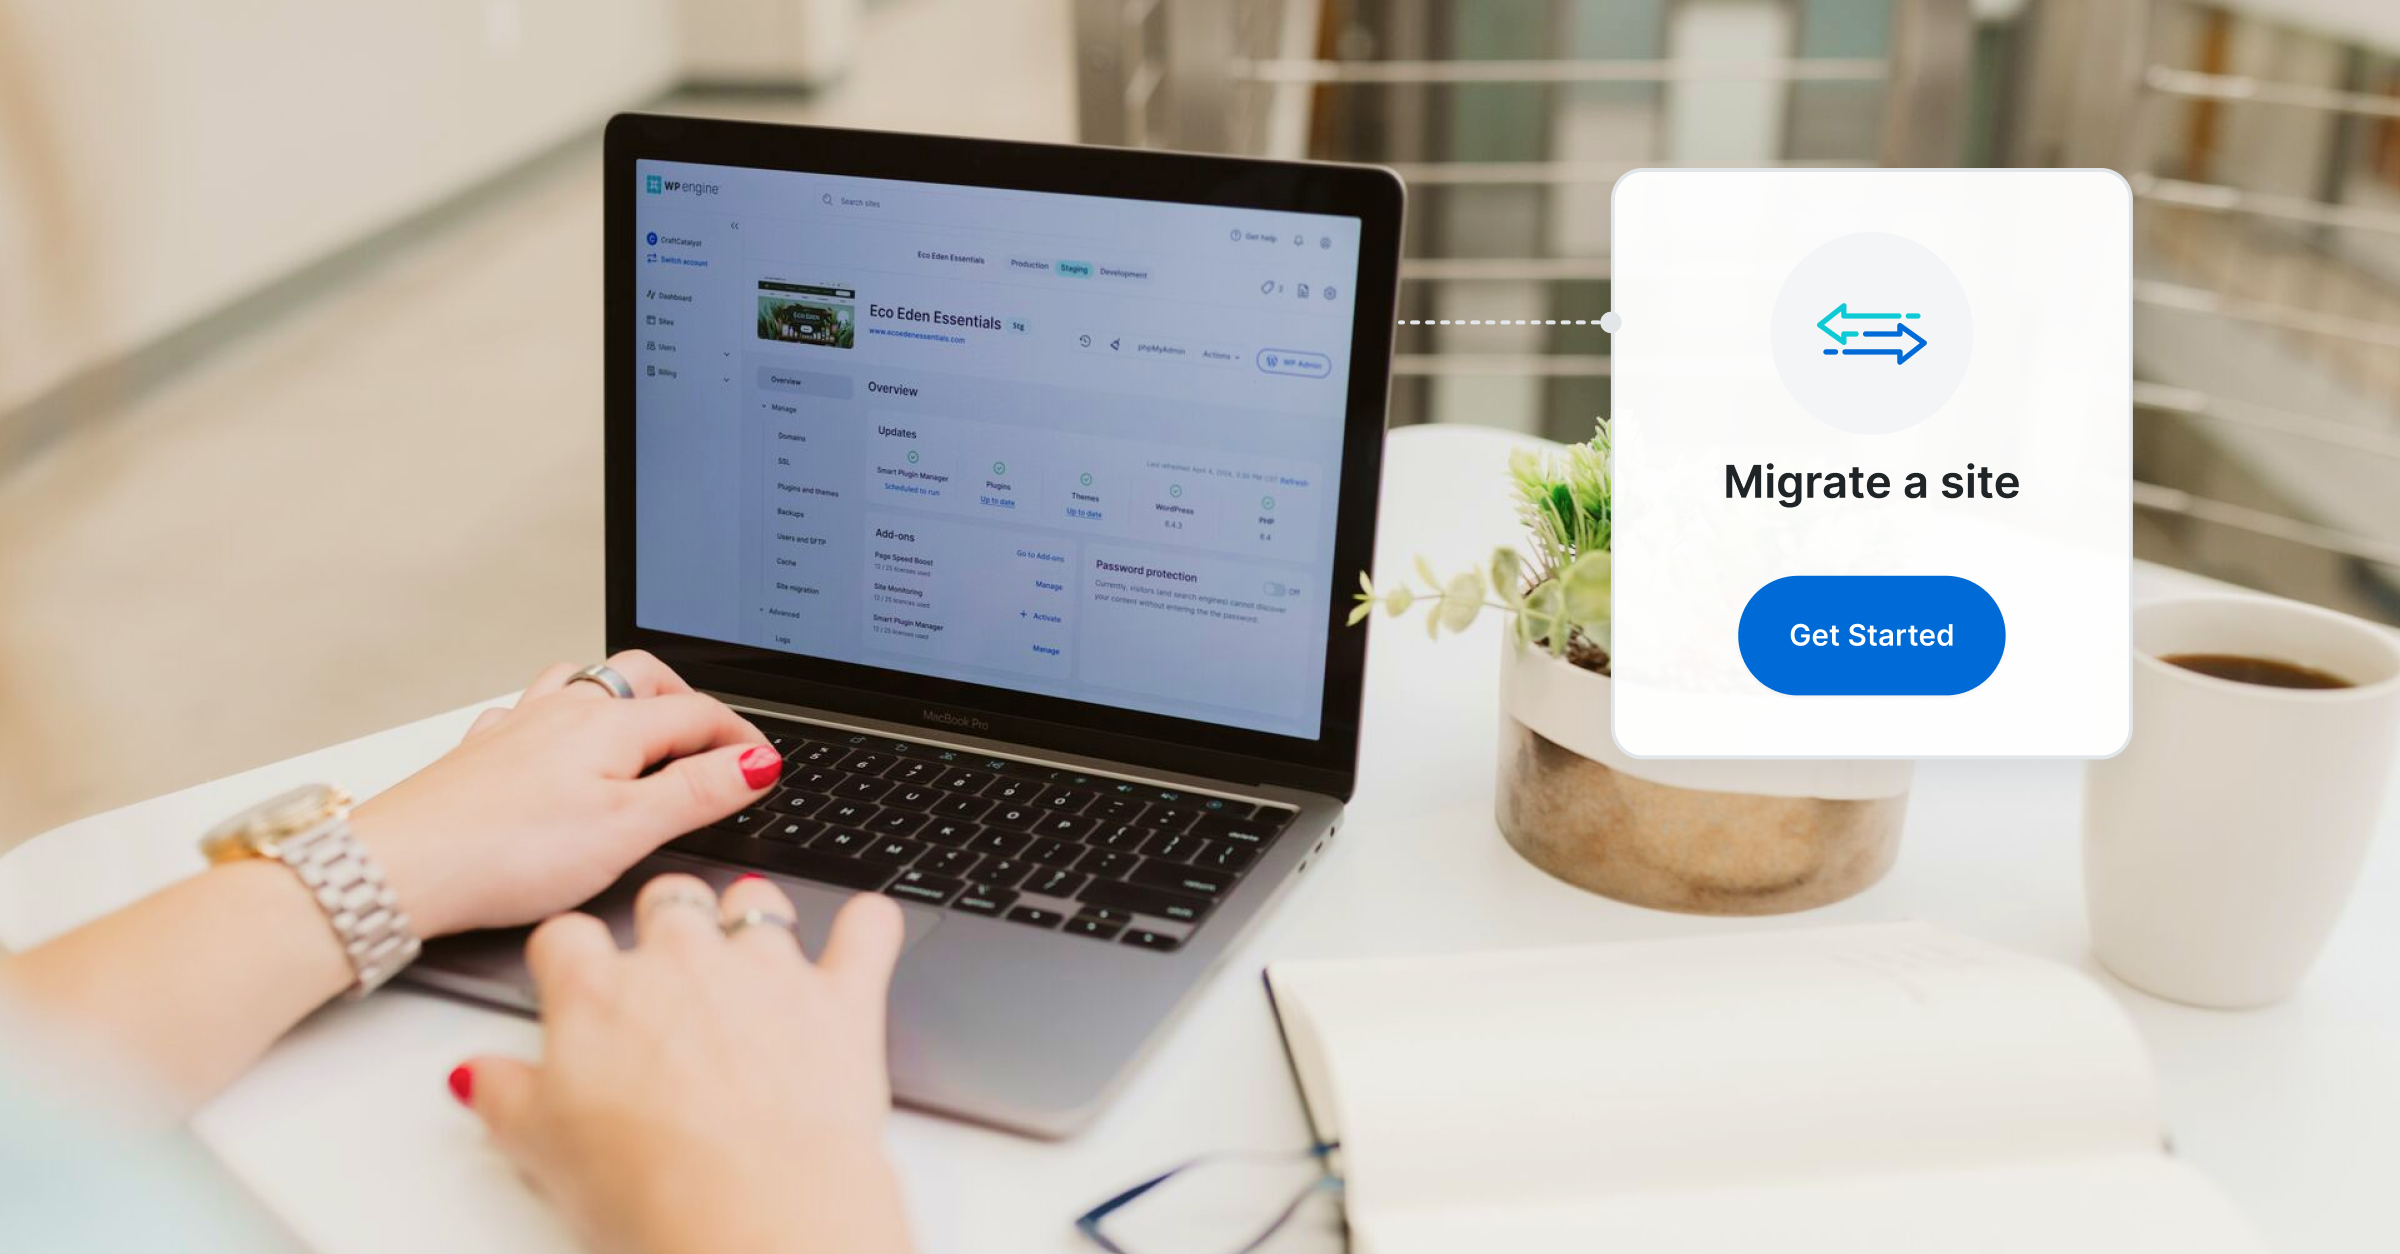
Get Started
Upload a wp-content Directory
Key Takeaways
Uploading wp-content folder is crucial for manual migration. Follow simple steps via User Portal or SFTP to transfer files securely. Notify Support for assistance after upload completion.
Unzipping wp-content folder before SFTP upload is essential. Failure to unzip locally may cause issues with file overwriting during upload.
Copy only wp-content folder for smooth migration. Avoid accidental replacement of unique WP Engine files and settings. Notify Support for any accidental replacements.
Reach out to Support for help with non-wp-content media folders. Some media may be stored outside wp-content and require manual transfer.
Contact Support for any migration assistance needed. Support is available 24/7 for any questions or issues during the migration process.
Once you’ve downloaded your wp-content folder from your previous host, you can easily upload this folder or zip file to our Support Team so we can help you with this step of the manual migration process.
Upload via User Portal
- From the Sites page, select the environment name where you’d like to import this content
- Click Site migration
- Click the button labeled Manually migrate your site
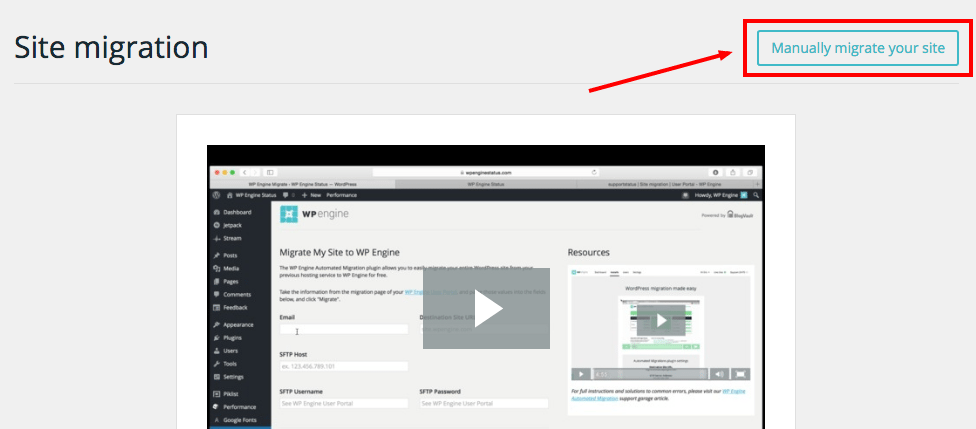
- Expand the section called “Import: Now let’s import your files to WP Engine” and expand it
- Choose the second option in the list to “Import your wp-content zip file to WP Engine”
- Upload the wp-content zip file from you local machine
- Click to Notify Support
A ticket with our Support Team will automatically open. We will take care of the unzip process for you, then reach out via email when complete.
Upload via SFTP
Uploading your wp-content folder is also possible via SFTP.
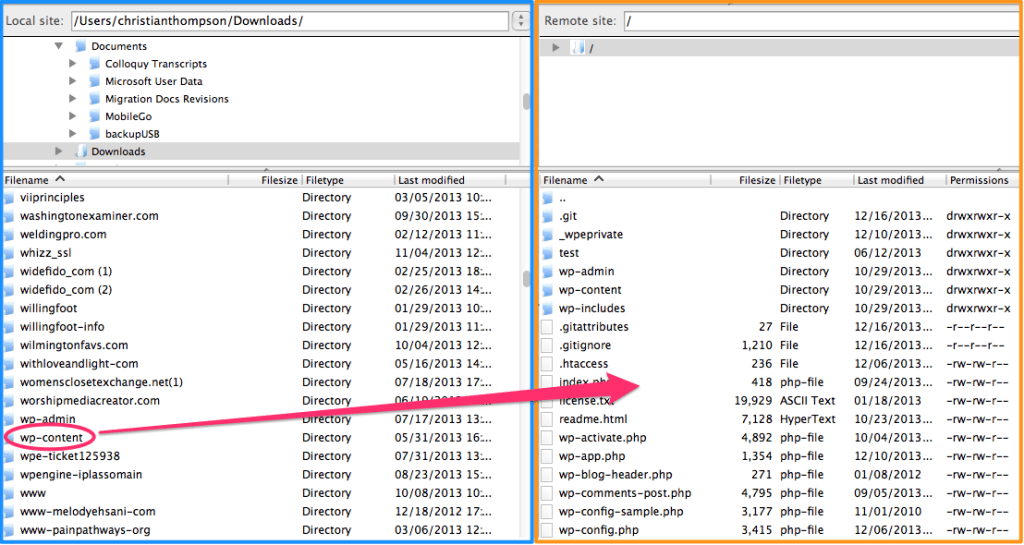
- Connect to your site via SFTP
- You should then be connected to your file system on our servers
- Left Panel (below in blue) – Your local computer’s files
- Right Panel (below in orange) – The remote website files for your site
- Use the left panel to navigate to wp-content folder on your local computer
- Click and drag the folder over to the right panel
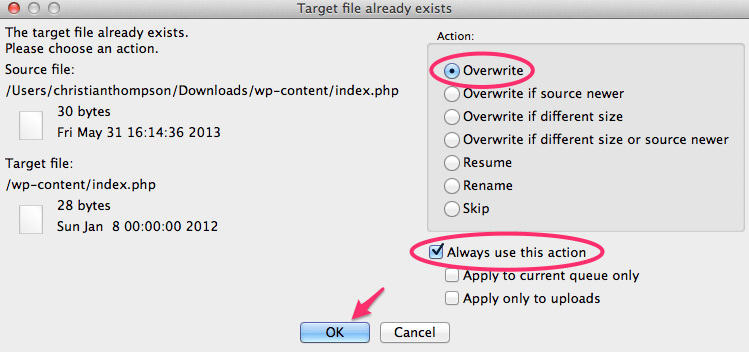
- You’ll be prompted to confirm that you want to overwrite, or merge, the existing files. There will be many files that will need to be overwritten, so you’ll want to check the box for “Always use this action option” (as shown below).
- Click OK and everything will begin uploading.
Important Notes
You will not be able to unzip the wp-content folder once it is uploaded via SFTP. Be sure to unzip your wp-content.zip file on your local machine before uploading! If you do end up uploading the wp-content.zip file, no worries! Just reach out to our Support Team via Live Chat in your User Portal, and we’ll help you out.
For the smoothest migration experience possible, copy only the wp-content folder. We recommend this because there are some files and settings that are unique to WP Engine (in particular the mu-plugins folder and wp-config.php file). If these are accidentally replaced during your import, please just let us know and we can put them back in place for you.
Sometimes images or media used on a website are saved in a folder other than wp-content. In this case you will also need to download and then upload this folder to WP Engine. Any other resources that are not stored in the default WordPress® location will also need to be manually transferred.1
NEXT STEP: Check out the Migration Process Guide