Point Register.com DNS to WP Engine
If you purchased your domain from Register.com (sometimes known as RCOM), this guide will help you point your DNS records to WP Engine. This step is required in order to go live with your domain on the WP Engine platform.
NOTE: Before taking these steps, please add your domain in User Portal.
Step 1: Locate your DNS information in User Portal
The first step is to locate your CNAME and A Record values in your WP Engine User Portal. You can find this information on the Domains page for your production environment. Learn more here.
Keep this page open as you continue through the following steps for easy copying!
Step 2: Login to Register.com
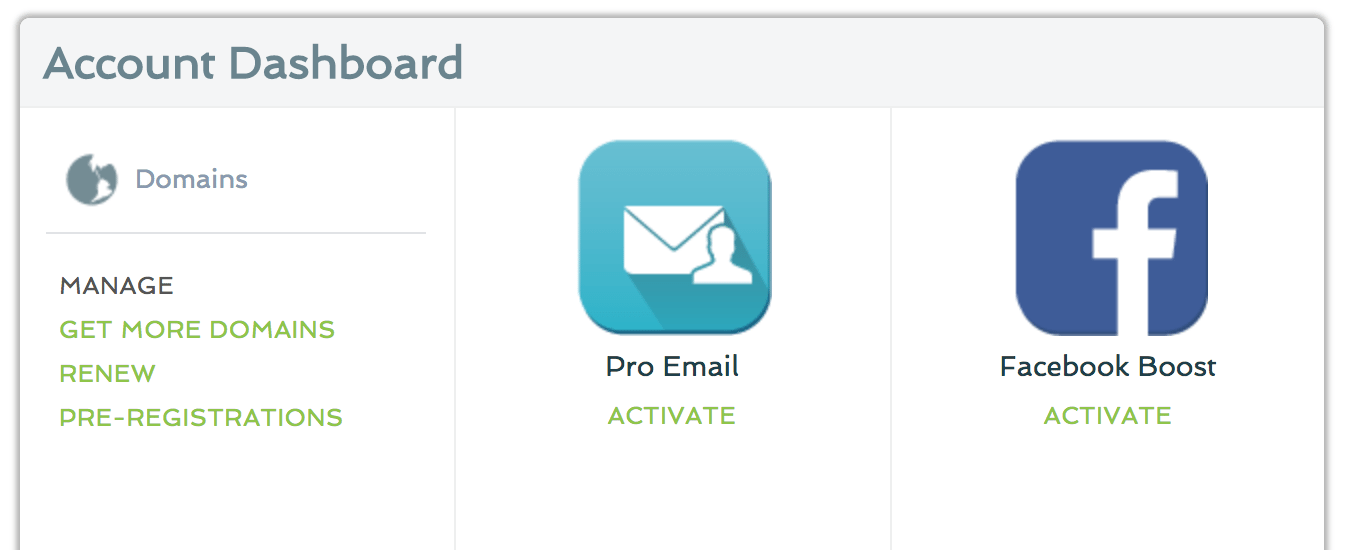
In a new tab, open the Register.com website and log in using your credentials. From the Account Dashboard section, hover over Domains and select Manage.
Next to the Domain entry for the custom domain you would like to edit, click Manage. You are now on the page where your DNS records can be modified. We will explain how to modify the records properly in the following sections.
Step 3: Update DNS Records
Now it is time to enter the DNS settings from WP Engine into your registrar. At this stage, you will need to make a choice about how to manage your DNS records:
- Option A (preferred): point your nameservers to Cloudflare. If your site is migrated internally with WP Engine, DNS changes won’t be needed.
- Option B (still okay!): point your A record to WP Engine. This will work just fine, but you will need to update your DNS records if your website is ever migrated to a new server. This method keeps your Domain and DNS management at Register.com.
Option A: Point Nameservers to Cloudflare
Cloudflare is a service that helps manage your DNS, among other services. Pointing your domain to WP Engine through Cloudflare offers other benefits too: CDN, SSL, routing rules, and more granular control of which traffic you want to allow on your website. Some Cloudflare plans even offer advanced DDoS protection! To proceed with this option, open a new tab and navigate to www.cloudflare.com to get started. Here you can sign up for a free account, and enter your domain name.
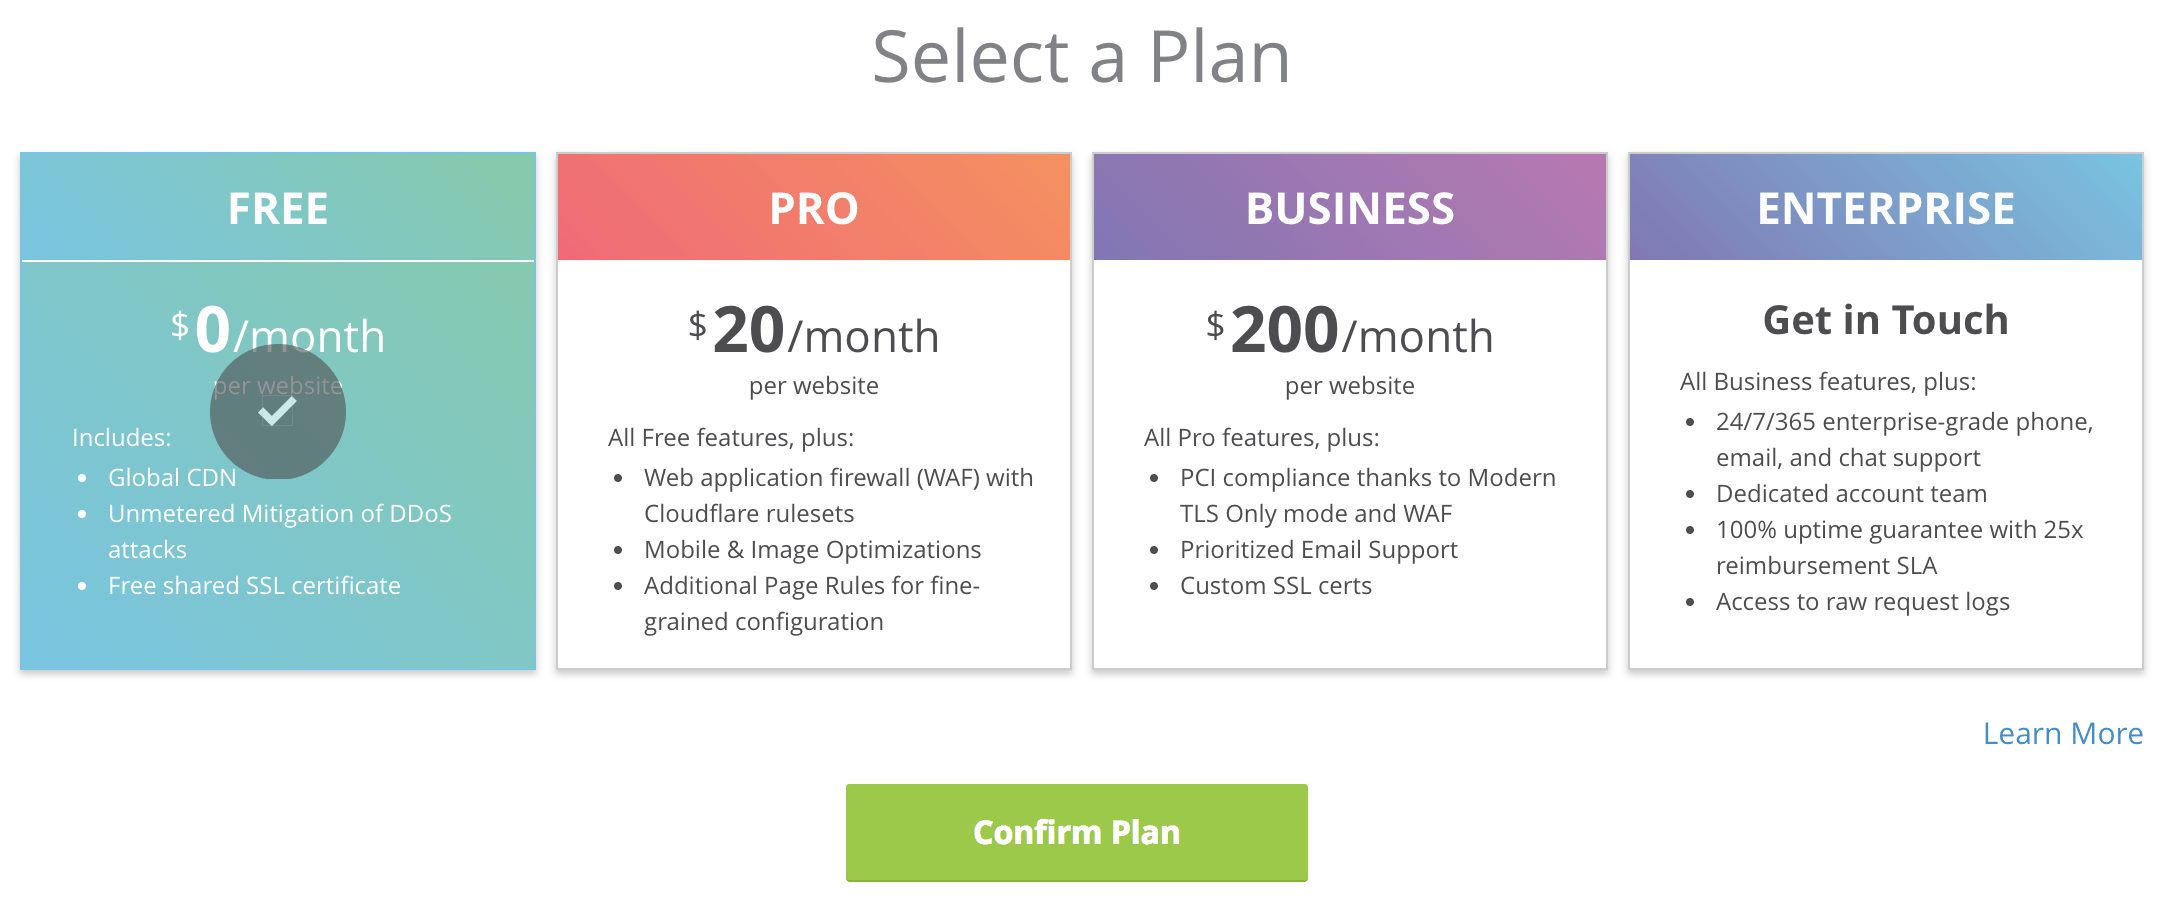
While Cloudflare is querying your DNS records, you can select a plan. For the purposes of this article, we selected the free option.
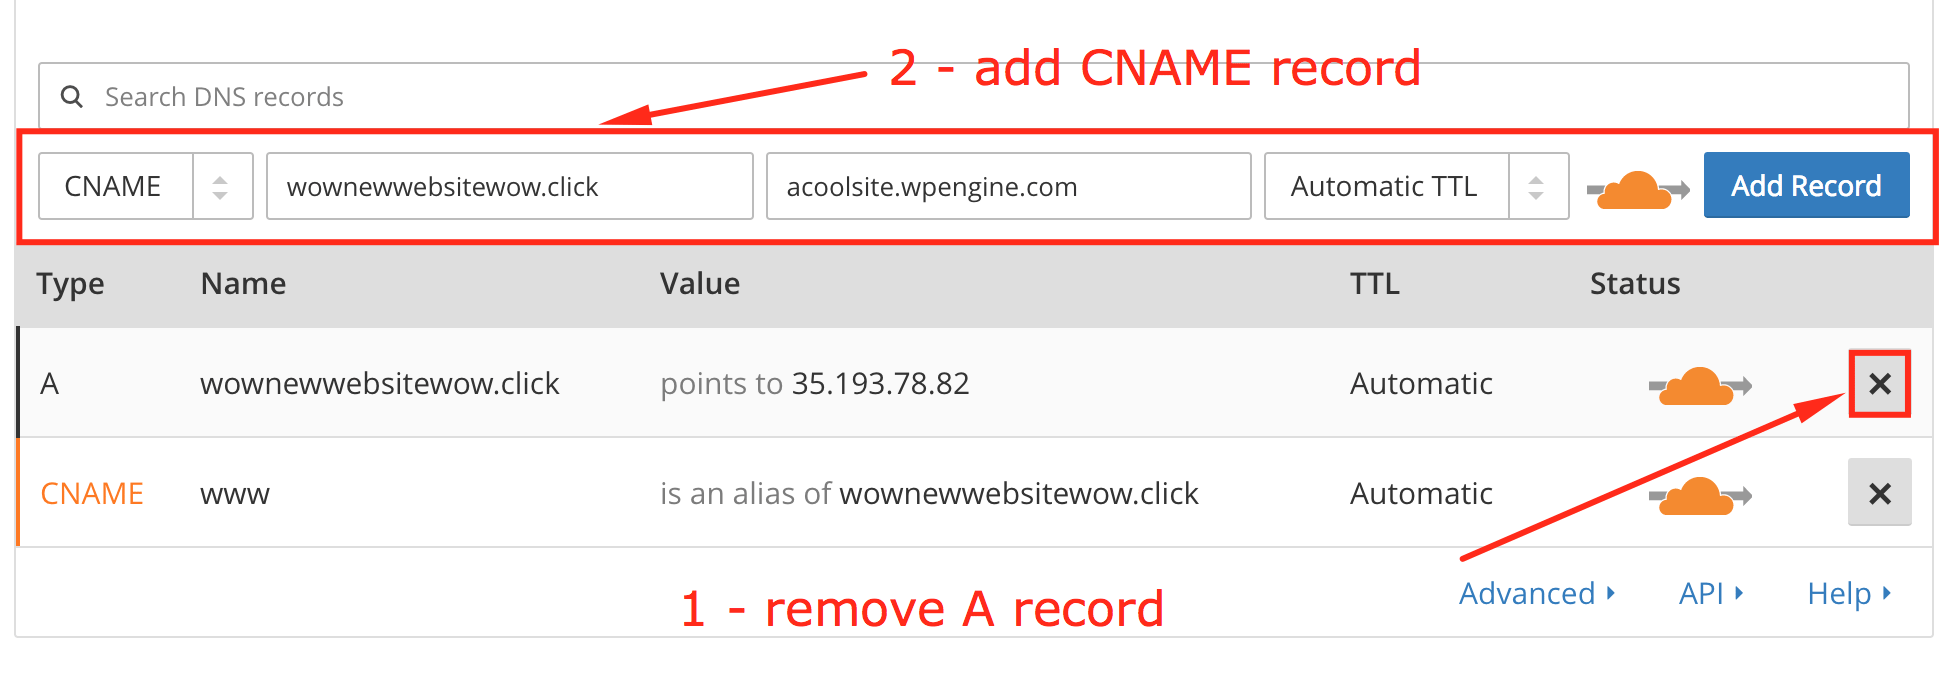
Now Cloudflare will show you the DNS records they found at Register.com, and you have the opportunity to review and change them before continuing. Remove the A record for your domain, and instead add a CNAME pointing to the WP Engine CNAME record as shown below.
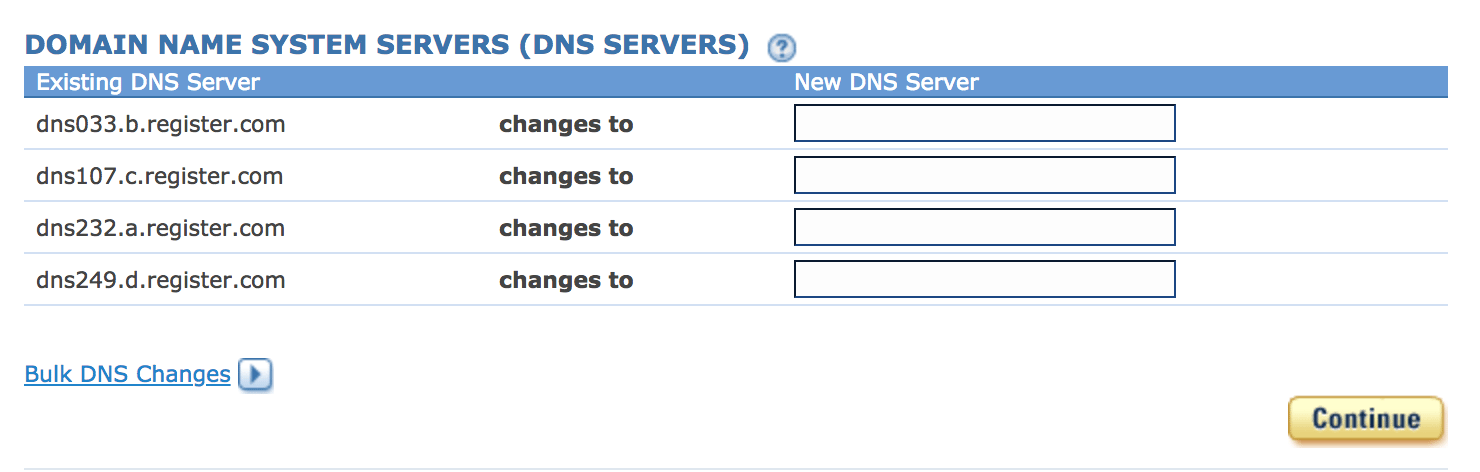
When you continue, Cloudflare will display new Nameservers for you to use with Register.com. In the Register.com dashboard, edit the Nameservers to reflect the Cloudflare ones.
From here, all that’s left to do is wait! Nameservers can take some time to propagate the changes. Once the change finalizes, your Register.com DNS will be successfully pointed to WP Engine. To learn more about Cloudflare’s other services like CDN and SSL, head to Cloudflare Best Practices.
Option B: Point Your A Record to WP Engine
If you don’t want to use Cloudflare to point your DNS, no worries–you can easily edit the records directly on Register.com instead! If you choose this method, scroll down to the bottom of the Manage page on Register.com. Here you will see a list of record types.
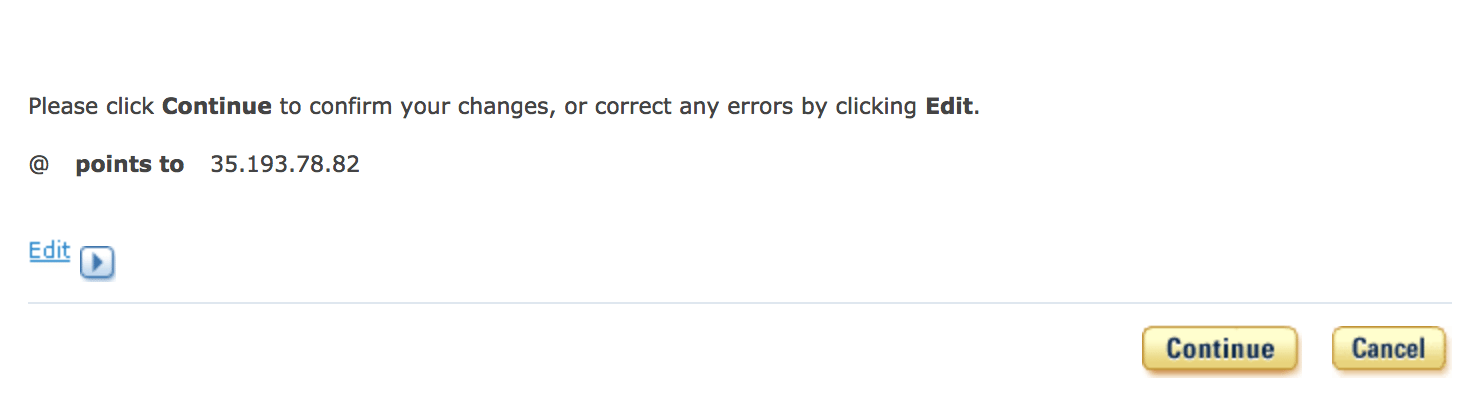
Select A records from the list, and ensure the entry with a blank box in front of your domain points to the IP address in the Overview page on WP Engine.
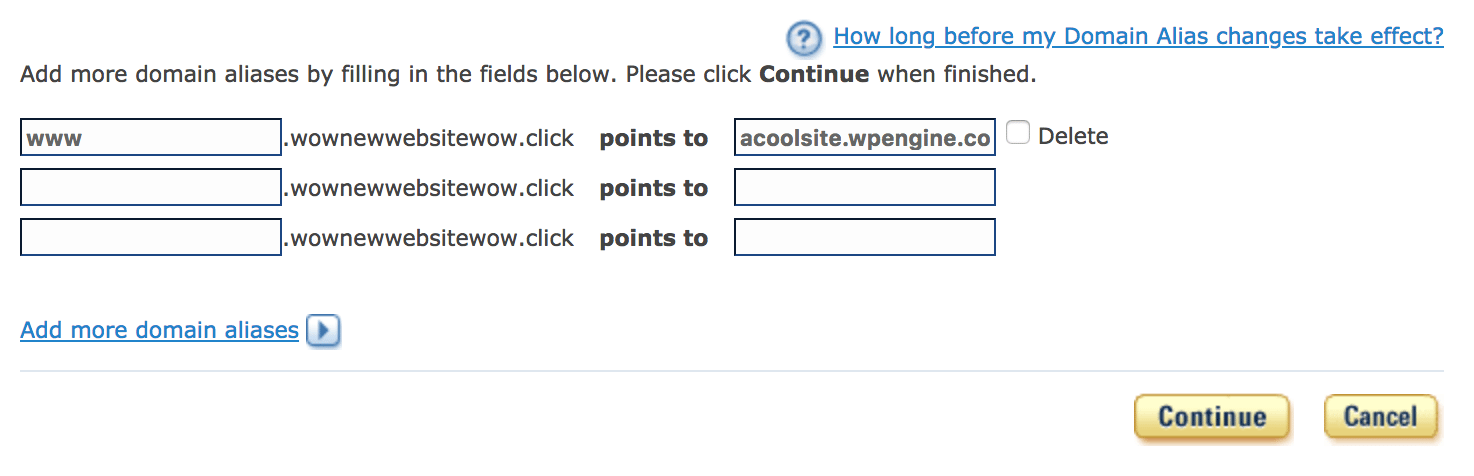
Confirm the change, then navigate to the CNAME records page. Enter “www” in the box in front of your domain, and point it to your WP Engine CNAME from the Overview page.
Once your changes are saved, they will take some time to propagate. After propagation your DNS will be successfully pointed to WP Engine! In the meantime, be sure to review our Going Live guide to ensure you haven’t missed any steps.