How to Change WordPress Themes
Both themes and plugins are essential to the WordPress experience, and fortunately, they’re relatively simple to install and use. However, changing your active theme isn’t simply a matter of clicking a button.
In fact, there’s plenty to consider before you activate a new theme. For example, you’ll need to select the theme you’ll use carefully, and take some vital steps such as backing up your current site.
In this article, we’ll walk you through how to change your WordPress theme. Before that, let’s cover the very basics—starting with what themes actually are!
What Is a Theme?

In a nutshell, a WordPress theme is a visual template for your site. It can also add new features, but you’ll mainly use a theme to determine how your site looks, before extending its functionality using plugins.
Usually, you’ll stick with the theme you’ve chosen for a long time – it’s not something you want to change on a whim. This is because specific design elements related to the theme will disappear once you make the switch, and you may need to do some work to get your site looking right again.
However, many WordPress users do change their active theme at some point, in order to introduce a fresh design or incorporate desired features. If that’s something you’re thinking of doing, you’ll want to choose your new theme carefully.
What to Look For in a Theme
Picking the wrong theme can hamper your site’s ability to reach its goals. Fortunately, choosing a solid option isn’t hard. Here’s what you’ll want to look for:
- Compatibility with all major browsers. You obviously want to reach as many people as possible, and ensuring that your site is visible on all browsers across multiple devices helps.
- Plugin support. Some themes have been coded with certain plugins in mind. Therefore, you’ll want to ensure that your essential plugins are compatible with the new theme.
- Page builder integration. Page builders make it simple to perfect your website’s layout, so ascertaining whether your favorite tool works with your theme is essential.
In addition, you’ll want to make sure the support channels available from the developer are top-notch, just in case you need assistance. Usually, the reviews and ratings for the theme will help to indicate the quality of its support.
Finally, you’ll also want to ensure that the theme has been coded with Search Engine Optimization (SEO) in mind, and that it’s mobile-friendly. Fortunately, most themes now take both of these aspects into account.
Things to Do Before Switching Themes
As we mentioned earlier, changing your theme isn’t a one-step process. In fact, there are a number of aspects to consider before getting started. You’ll want to:
- Make a backup. We’ll discuss how to do this shortly, but needless to say, this should be the very first thing you do.
- Ensure that you record any custom changes you’ve made. This mainly refers to any Cascading Style Sheets (CSS) code, or additional PHP within the functions.php file.
- Check your analytics and tracking features. Make sure to copy over any codes you’ll need to keep third-party connections active.
In fact, the more you do here to make sure every aspect of your site is unaffected by the change, the better the transition will go. So we’d advise running a fine-tooth comb over your site, so you know everything will make the jump unharmed.
How to Change Your WordPress Theme
At this point, let’s talk about how to actually switch your WordPress theme. The steps are pretty simple, and we’ll walk you through each one.
Step 1: Back up Your Site
Before you do anything else, make sure you have a full site backup in place. This is absolutely vital, mainly because if something goes wrong, you’ll have a clean restore point to work from.
Fortunately, we’ve previously covered how to back up your site in detail. In that article, we looked at a number of different methods that might work, depending on your expertise and resources. We’d advise you to work through whichever technique is more convenient for you before moving onto the second step.
Step 2: Navigate to Your WordPress Themes Section
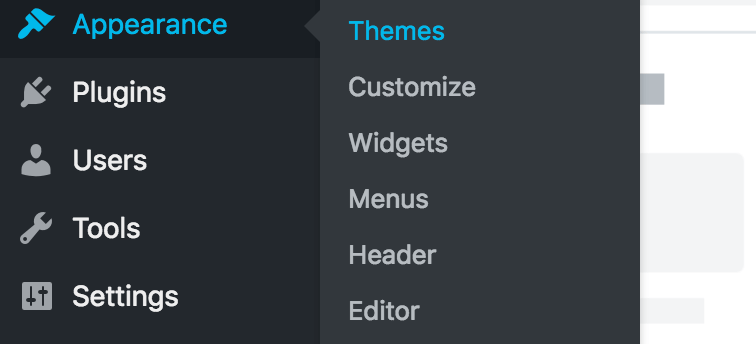
Now you’re ready to change your theme. To get started, head to Appearance > Themes within WordPress:

Here, you’ll see a list of all your currently-installed themes. Your active theme will be clearly highlighted:

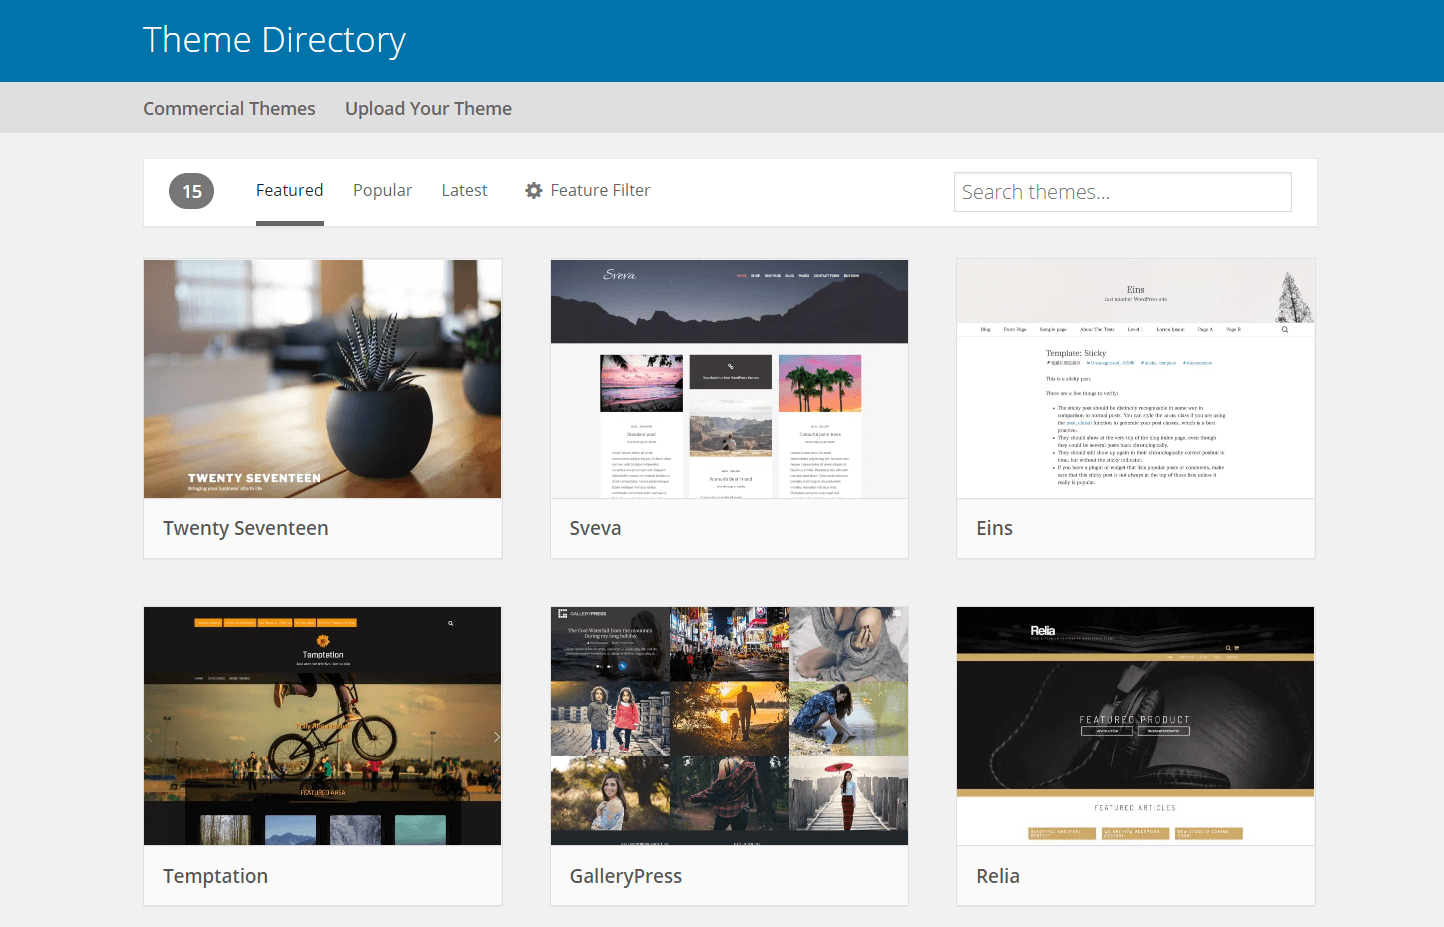
What you do next depends on whether your new theme can be found in the WordPress Theme Directory, or whether you’ve bought a premium theme elsewhere. Regardless, click the Add New button, and move on to the next phase.
Step 3: Install Your WordPress Theme
To choose from the thousands of free themes that are available, simply search for one using the drop-down menus on the Add Themes page:

If you’ve bought a premium theme, on the other hand, you’ll be provided with a ZIP file. This can be installed by using the Upload Theme link on the same page, and then using the Choose File dialog to locate the file:

Either way, once you’ve found or uploaded your desired theme, you’ll just need to click on the relevant Install button. WordPress will work its magic, and you’re almost done!
Step 4: Activate Your New WordPress Theme
The final step is to activate your theme. For premium themes, you’ll usually see an activation link on a confirmation screen, after the installation process is complete.
If not, you can view all of your currently installed themes by heading back to the Appearance > Themes screen. To apply a new one, simply hover over it and click on the Activate button:

Once that’s finished, you can check out your new theme on the front end of your site. It should be up and running, and looking pretty good. However, if there are any issues, you’ll want to check out the next section.
Most Common Mistakes Made When Changing WordPress Themes
Changing your WordPress theme might not always go to plan. Here are two of the most common issues that can occur, along with how to rectify them.
White Screen of Death
First up, the White Screen of Death (WSoD) is arguably the most frustrating error within WordPress. This is because you’ll be faced with a blank screen, without any indication of what’s wrong.
Usually, this error is due to a compatibility issue you haven’t discovered yet. Fortunately, the fix is straightforward, albeit time-consuming. We’ve actually covered how to resolve the WSoD over on the Torque blog, so check out that article if you run into this error.
Changing URLs and Everything 404s
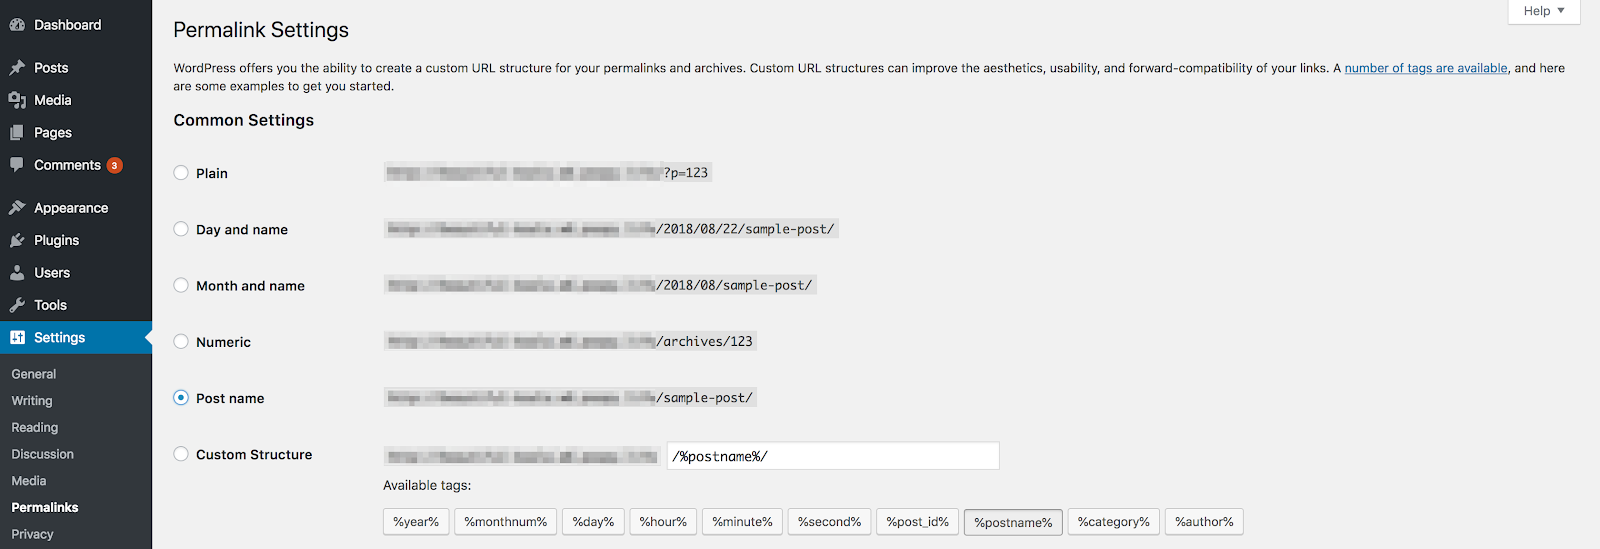
The Settings > Permalinks screen can help you solve many theme-switching issues, namely ugly URLs (i.e. those that use random character strings) and 404 errors. Admittedly, these problems are both usually associated with new installations, but we have seen them occur with theme changes.
The good news is that by navigating to the Permalinks screen, you can select a new, ‘prettier’ permalink structure:

If you’re also seeing 404 errors after switching themes, simply clicking Save Changes here and checking out your site again should resolve the issue.
Get Support for More Common WordPress Questions from WP Engine
A quality and reliable WordPress host is arguably the best foundation for your site, regardless of the theme you choose. Here at WP Engine, we offer both that and a stellar support team. Plus, there are plenty of other WordPress tips and tricks to be found in our Resource Center – check it out for all manner of helpful tidbits!
