Point NetRegistry DNS to WP Engine
If you use NetRegistry as your domain registrar, this article will guide you in steps to point your domain to WP Engine. This step is required in order to “go live” with your domain on the WP Engine platform.
NOTE: Before taking these steps, please add your domain in User Portal.
Step 1: Locate your DNS information in User Portal
The first step is to locate your CNAME and A Record values in the WP Engine User Portal. You can find this information from the Domains page for your production environment. Learn more here.
Keep this page open as you continue through the following steps for easy copying!
Step 2: Login to NetRegistry
Now, open a separate tab and navigate to the NetRegistry console at theconsole.netregistry.com.au. Once logged in, you will see a section on the Dashboard to “Manage your domains.” Select your “Edit DNS” next to your domain in the list here to continue. Then select “Zone manager” from the left-hand navigation menu.

In the following steps we will provide instructions for how to enter the settings from the WP Engine Overview page in the NetRegistry settings.
Step 3: Update DNS
Now it is time to plug in the settings from the WP Engine Overview page into your NetRegistry settings. Before doing this, it’s time to make a choice:
- Option A (preferred): point your nameservers to Cloudflare. If your site is migrated internally with WP Engine, DNS changes won’t be needed.
- Option B (still okay!): point your A records to WP Engine. This will work just fine, but you will need to update your DNS records if your website is ever migrated to a new server. This method keeps your Domain and DNS management at NetRegistry.
Option A: Point Nameservers to Cloudflare
Option A is to use a service called Cloudflare to point your DNS records to WP Engine. Cloudflare has several plan tiers, including a free option. Cloudflare’s services include SSL, CDN, more fine-tuned control of the visitors to your website, and even DDoS protection on some plan tiers. In this case, we are using Cloudflare to allow for CNAME flattening, which means that if your site is migrated internally with WP Engine, DNS changes won’t be needed.
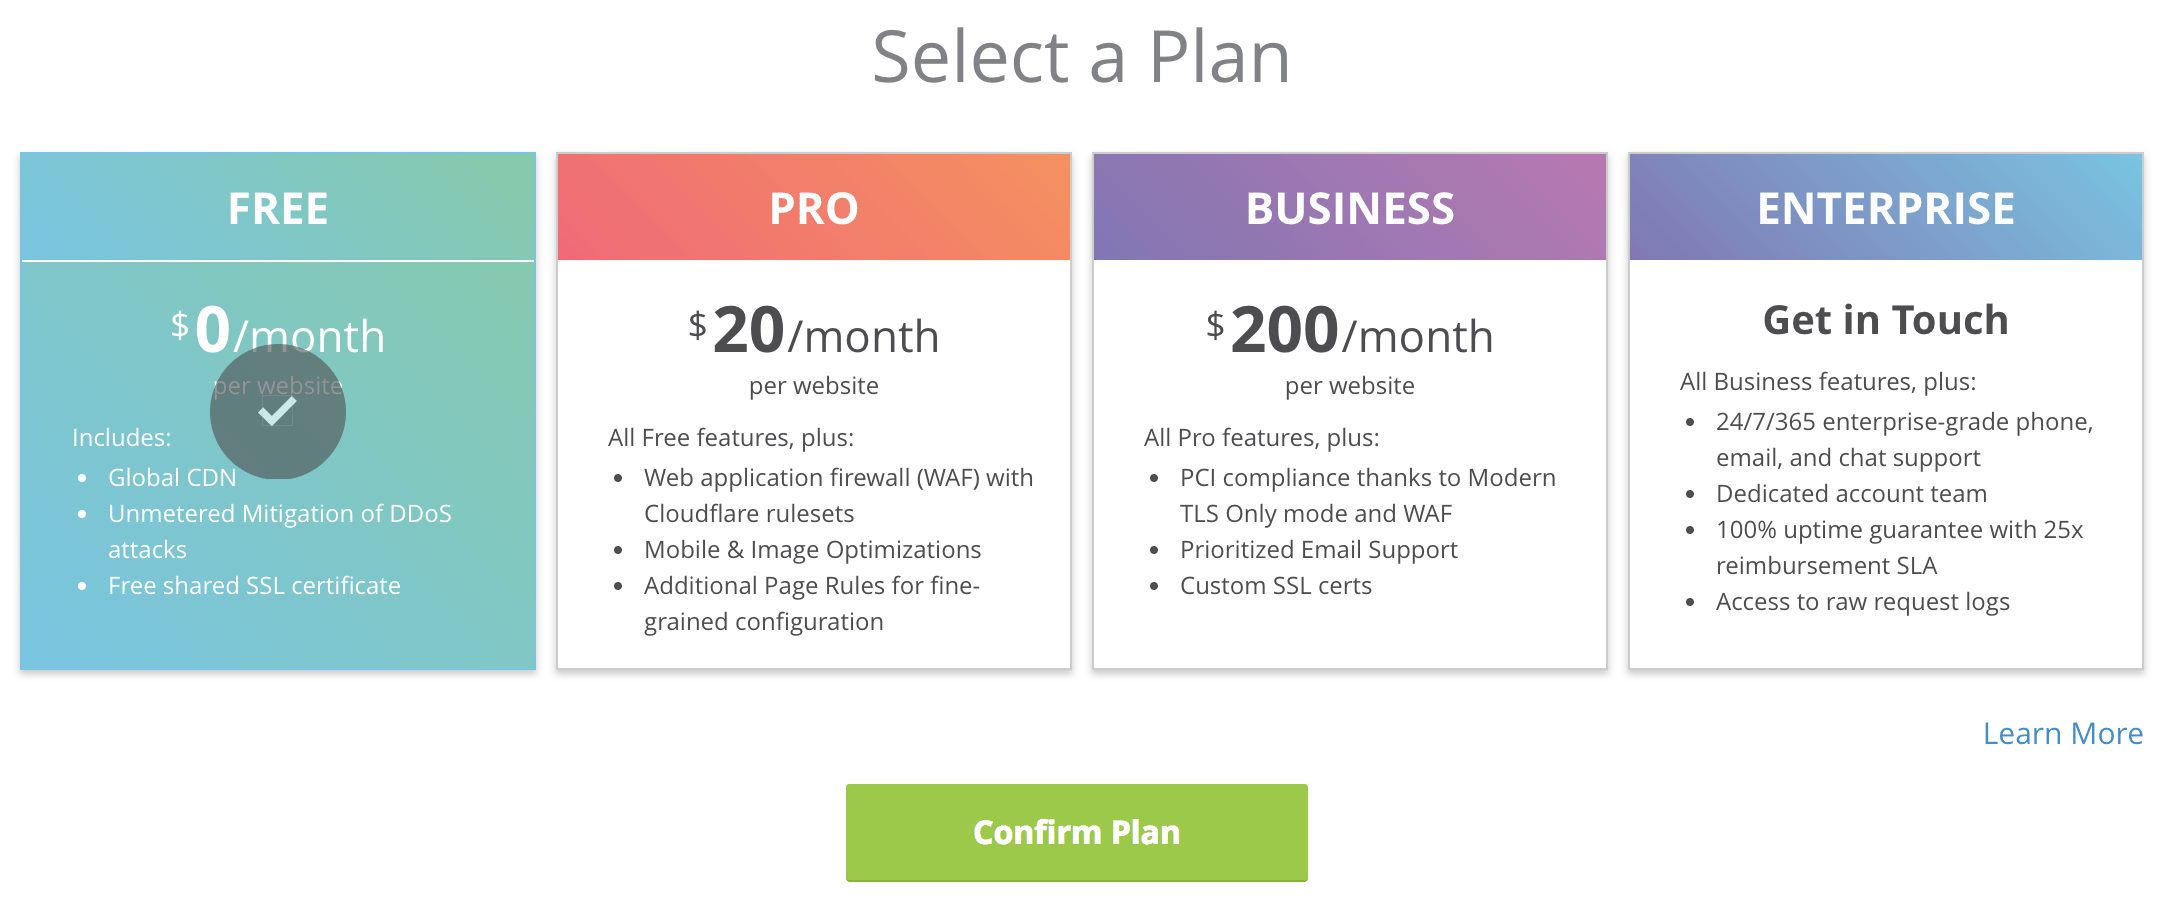
To get started, head to www.cloudflare.com and choose to sign up. In the process you will be asked for your domain name. Cloudflare will look up your existing DNS records, and ask you to choose a plan. For the purposes of this article we have selected the free plan.

Once you confirm the plan, Cloudflare will show you the DNS records they found. Select the A records for your domain and www record in the list and remove them. Then, add CNAME records to replace the ones removed. The CNAME records should point to the CNAME showing in the Overview page of your WP Engine User Portal.

After saving, Cloudflare will show you two nameservers to change–leave this tab open so you can easily copy them! The new Nameservers should be entered in your NetRegistry dashboard.
Navigate on the NetRegistry dashboard to the Zone editor page. You will see some entries for your root domain with NS next to them. These are your nameservers. Click to update the Nameservers according to the Cloudflare instructions.

Once you save the changes, your DNS has been successfully updated! All that’s left is to wait for propagation, which can take some time. In the meantime, please review our Going Live guide to ensure you didn’t miss any important steps. To learn more about Cloudflare’s other services like CDN and SSL, head to Cloudflare Best Practices.
Option B: Point A Record to WP Engine
If you chose Option B instead, we will be staying in the NetRegistry console to update your DNS records. Scroll down to the bottom of the “Zone editor” page and you will find a listing of your existing DNS records.
Find the record that looks like: wowaverycoolwebsite.net. A
(The A Record for your root domain). Select to edit this record, and enter the IP address from your WP Engine Overview page.

Nearby, you should see a record that looks like: www A
(The A Record for your www subdomain, or www.wowaverycoolwebsite.net in our example). Select to edit this record as well, and enter the IP address from your WP Engine Overview page. When saving either of these records you will have an option to edit the “TTL,” which is the time to propagation of the changes you have made. We used 600 for our domain, meaning 600 seconds (10 minutes).
Following the example records and domain in this article, your records would look similar to this:

And that’s it! All that’s left to do is wait for propagation of the changes. The amount of time this takes will vary based on what you set for the “TTL” field. In the meantime, be sure to review our Going Live guide to make sure you didn’t miss any important steps.
